How To Insulate a Garage Door for Temperature Control

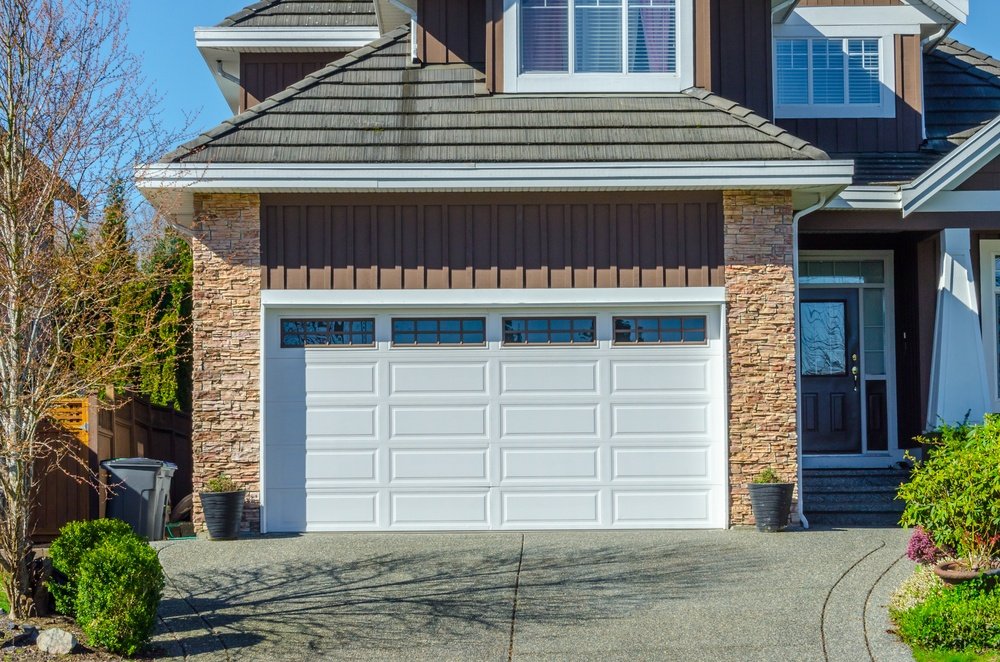
Have you ever noticed that the temperature in your garage is much different than the temperature in the rest of your house? In the summer, the garage can be unbearably hot, but in the winter, it becomes bone chillingly cold. Why does this happen? If this drastic change in temperature sounds familiar, it means you need to add insulation in your garage.
Benefits of Adding Insulation
Why should you add insulation? The air that is warmed or cooled by your heating and cooling system may eventually escape through your garage or outside air may make its way into your home through the garage. Either way, it means your HVAC system will have to work even harder to maintain a comfortable temperature in your home. But if you add insulation, it will prevent air from traveling in and out through the garage, so you will be able to reduce your energy usage and save money on your utility bills.
In addition to preventing air from flowing in and out, insulation can also help with noise. If you spend a lot of time in your garage, you may not want to be distracted by the sound of kids playing on the street. Likewise, your family may not want to hear you hammering or using your power tools while they are trying to rest inside your home. Insulation acts as a buffer to solve this problem.
How to Insulate Your Garage
To get started with this project, head to a hardware store and purchase a garage door insulation kit. Each kit should contain precut insulating material and fasteners. The material is cut to fit the standard size of most garage door panels, but you may still need to trim it if it doesn’t fit yours exactly right. Carefully measure the garage door panels and use scissors to trim the insulation down as needed. Then, have someone hold the insulation in place while you attach the fasteners. If you don’t buy a kit and choose to add insulation on your own, look for batt insulation, which is usually made out of fiberglass and backed by either foil or paper.

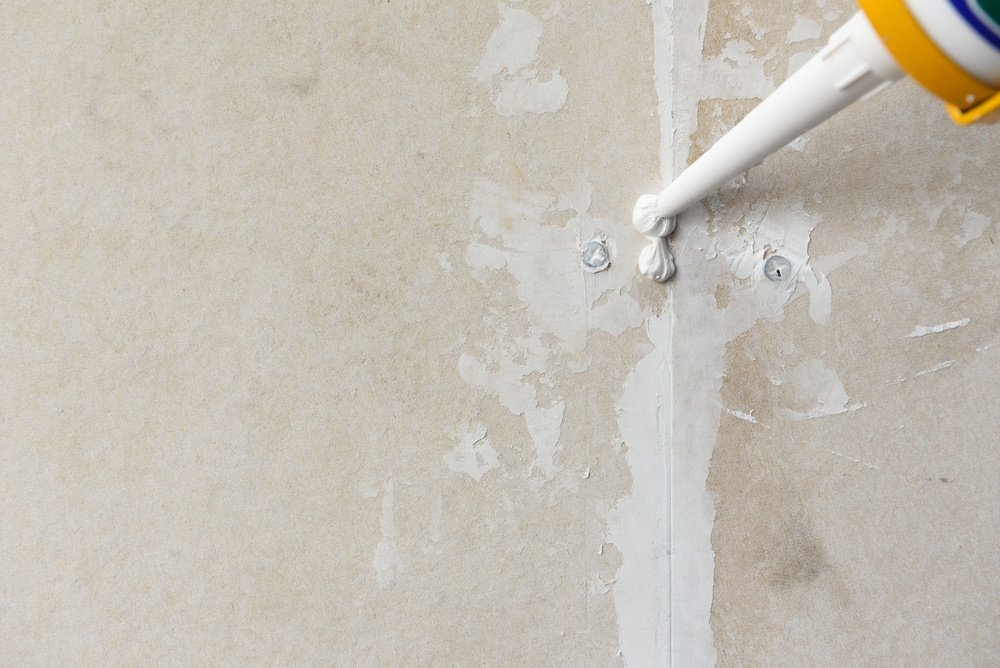
Next, you will need to make sure everything is sealed off to finish the insulation job. Purchase a caulk gun and caulk at the hardware store and apply it in an even line where the drywall meets the floor of your garage. You should also apply caulking around any light switches, electrical outlets, or electrical boxes that may be in your garage.
Finally, you will need to weather strip the door that takes you inside your home. Purchase a weather strip kit from the hardware store and get to work. These kits come with two strips for the sides of your door, and one for the top. Measure the length of your door carefully before cutting the strips in your kit. Most weather stripping will need to be nailed into place, but you should carefully read the instructions on the kit you purchased to determine how to finish this project.
It may seem complicated, but the truth is that insulating your garage can be done in just a few hours regardless of whether you consider yourself to be a handyman or not. The best part? It only costs a few hundred dollars to complete this project, which you will quickly recoup with the money you save on your energy bills!


