6 Tips for Installing ENERGY STAR Windows Yourself
 Windows are wonderful additions to any home. They give us light and a beautiful view of the outdoors, but they can also affect your home’s energy efficiency. Windows can notoriously let unwanted air enter and escape, whether they are installed incorrectly or aren’t designed for energy efficiency.
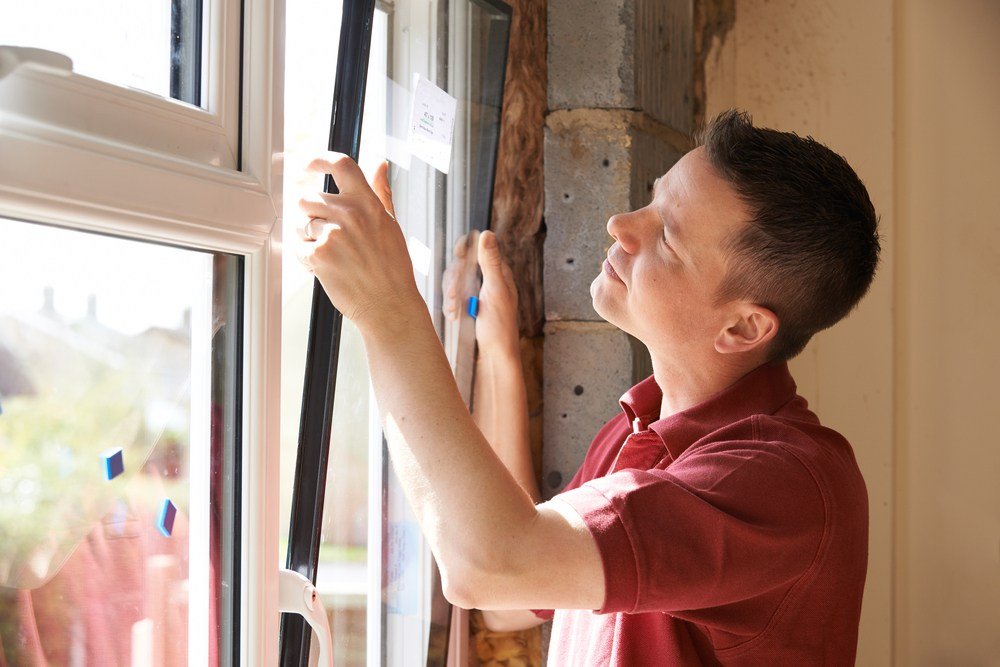
One of the best ways to reduce energy consumption, and therefore reduce your monthly energy bill, is to install ENERGY STAR windows. These windows will pay for themselves thanks to the energy savings they create. The best part is you can install them on your own! Here are six tips to get started:
1. …Choose ENERGY STAR windows based on climate…
The first step to properly install ENERGY STAR windows is to make sure you choose the right ones! When shopping for windows, be sure to look at the ENERGY STAR label. Each label will have either a map of the United States, with highlighted portions showing which regions the product is certified, or will say “ENERGY STAR Certified in All 50 States”. Look for a sticker that says the window will work with your state highlighted.
2. …and the direction they face.
Another important step to choosing the right ENERGY STAR windows is to know which direction the window will be facing. For example, a south-facing window in a cold climate will work best with high SHGC (solar heat gain coefficient) windows, whereas windows that face east and west would need a low SHGC. Figure out which direction your window will be facing before you head to the store so you know exactly what you need.
3. Stick to the instructions.
All certified ENERGY STAR windows will have easy-to-read instructions designed to make it simple for you to install them on your own. Follow these instructions carefully! If an issue arises as you try to install windows on your own, some manufacturers will void existing warranties if you did not follow instructions during installation.
4. Seal any air leaks.
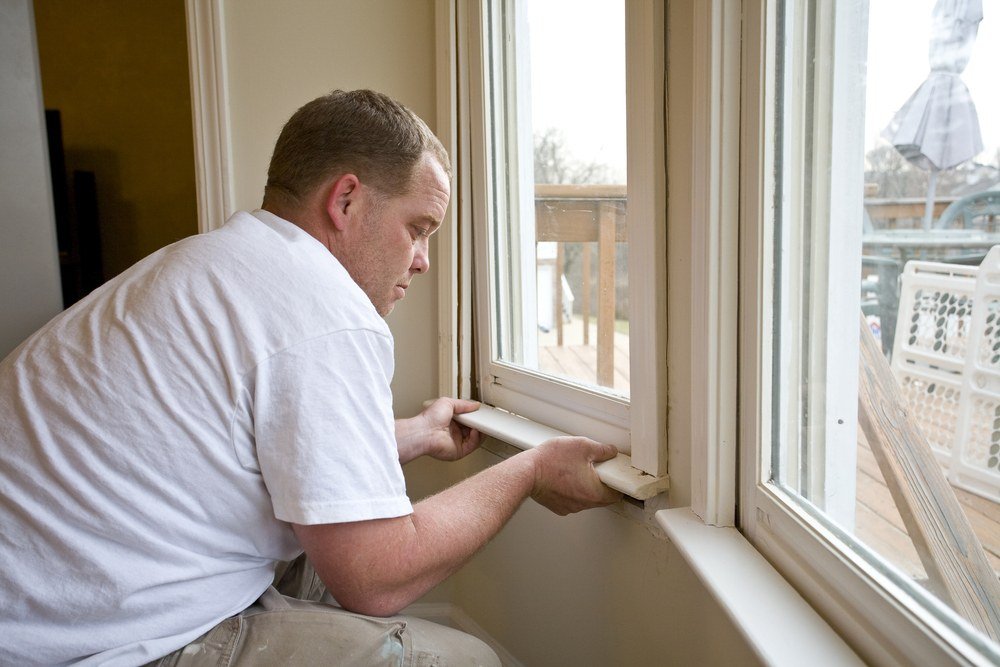
Air can slip out of your house through leaks around windows or other openings, so it’s important to seal these leaks during window installation. How is it done? Check the caulking around the frame. If it’s dried out or cracked, remove the old caulking first. Then, apply fresh caulk to the window frame’s joints and the joint between the frame and the wall. By sealing these air leaks, you prevent energy loss and uncomfortable temperatures within the home.

5. Prevent future condensation.
Condensation forms on the inside of windows when the window surface drops to a temperature below the dew point of the indoor air. Excessive condensation can cause the whole window to be blocked by fog or frost, or lead to water runoff that can damage the area around the window’s perimeter.
Although ENERGY STAR windows are more resistant to condensation than others, double check that the area between the window opening and the frame is insulated during installation. This insulation will prevent condensation from building up and protect your windows.
6. Get a deal.
After you install ENERGY STAR windows, get rewarded for your good judgment! By installing ENERGY STAR windows, you can claim federal tax credits up to $200 for eligible windows and skylights. Be sure to also check with your utility providers, since many offer financial incentives to homeowners who install ENERGY STAR windows.
With these new windows, not only will you enjoy the view of the outdoors, but also the money you’ll save on energy!


