How to Install Gutters
Gutters play an important role in protecting your home. The gutter system is designed to collect and redirect rainwater so it doesn’t accumulate around the foundation of your home. By doing this, the gutter system prevents soil erosion, foundation damage, leaks, and flooding.
It can cost thousands of dollars to hire a professional to install new gutters. But fortunately, it is possible to complete this home improvement project on your own. Here’s how to install gutters:
What Materials Will You Need to Install Gutters?
Before you begin, gather all of the materials you will need to complete this project, including:
- Tape measure
- Ladder
- Gutters
- Downspouts
- Gutter hardware
- Chalk line
- Power drill
- Sealant
- Splash guards
- Tinner snips
- Fasteners
Step-by-Step Guide to DIY Gutter Installation
There’s no need to hire a professional to install new gutters. Follow these simple steps to complete this project on your own:
- Take Measurements
- Mark the Starting and Ending Points
- Assemble the Gutters
- Mount the Gutters
- Attach the Downspouts
Take Measurements
Use a measuring tape to determine the length of the fascia along the roofline. This measurement will tell you how many gutter pieces you need to purchase to complete the installation.
You will need to measure the distance between the ground and the roofline to determine the length of material needed for your downspouts.
You may need one or two downspouts depending on the size of your home. If the length of the fascia is less than 40 feet, you will only need one downspout for your gutter system. But if it is longer than 40 feet, you should plan on installing a downspout on each side of your home.

Mark the Starting and Ending Points
Mark the starting point on the fascia, which should fall about 1.25 inches below the eaves flashing. If your roof is shorter than 40 feet, you should start your gutters all the way to the right or left. But if your roof is 40 feet or longer, the gutters should start in the center and extend downwards to the right and left.
To find the ending point, begin at the starting point and use chalk to mark the fascia every 10 feet until you reach the end of your roof. The gutter system should slope downward about one-half of an inch every 10 feet, so each mark you make should be slightly lower than the last.
Hammer a nail into the starting point and ending point. Attach a chalk line to the nail at the starting point and drag it all to the way to the other side of your roof so you can attach it to the nail at the ending point.
Then, grab the chalk line in the middle of your roof, pull it straight up, and let it snap back into place. This will leave a faint colored mark on your fascia so you can see where the gutter system needs to be installed.
Assemble the Gutters
Before you start the installation, it’s wise to lay out the gutter pieces on the ground so you know where everything goes. This way, you can make sure you understand how each of the pieces will be positioned once you start installing them.
Now is also the time to use tinner snips to cut the gutter pieces to the appropriate length. If you need to cut the pieces, make sure to smooth the sharp edges with a file afterwards. If you’re in need of any additional supplies or are considering investing in gutter guards or gutter machines to further streamline your installation process, be sure to check out GutterSupply for a comprehensive range of options.
Mount the Gutters
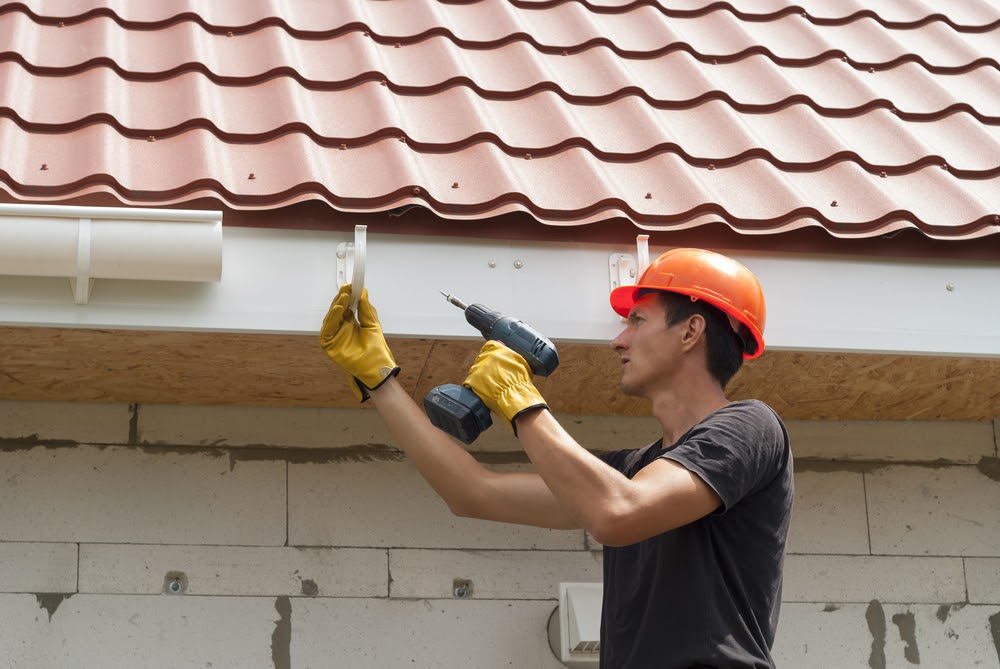
Start by using hidden fasteners to attach the end-cap, which is the part that seals off the end of the gutter to prevent water from coming out. Then, mount the other gutter pieces along the length of the fascia using screws and a power drill. Attach hidden fasteners to the gutter every 24 inches to ensure it is secure.
Every time you need to attach two gutter pieces together, use a gutter connector on the exterior and sealant on the interior to prevent leaks.
Be sure to reference the chalk line when mounting these pieces to ensure everything is in the right place. Continue this process until the gutters have been installed alongside the length of your fascia.

Attach the Downspouts
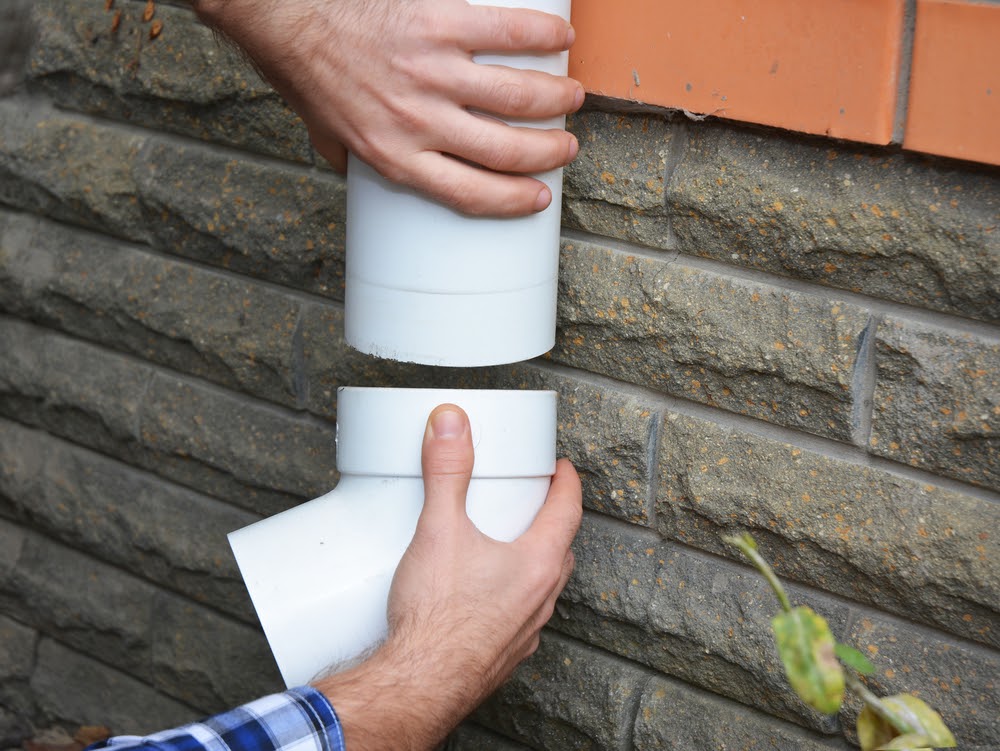
Put the finishing touches on your gutter system by installing the downspouts. Start by assembling the elbow and downspout using the measurements you took earlier. Then, secure the downspout in place using one bracket just above your home’s foundation and another near the top of the wall.
Once it is securely in place, attach another elbow at the bottom of the downspout to redirect water as far away from your home’s foundation as possible. Position a splash guard underneath the opening of the downspout to prevent soil erosion.


